Products
What is Trustleaf?
The core product of Trustleaf is a completely customizable incident management and communications platform that provides you with the ability to communicate the status of incidents, maintenance, and even to post general service communications, on your status page (called a leaf) and through any of the notification methods that your customers subscribe to. Check out our leaf to get an idea!
How do I get started with Trustleaf?
Create an account and create a leaf
First, you'll want to get started by creating an account or by logging in to your existing account.
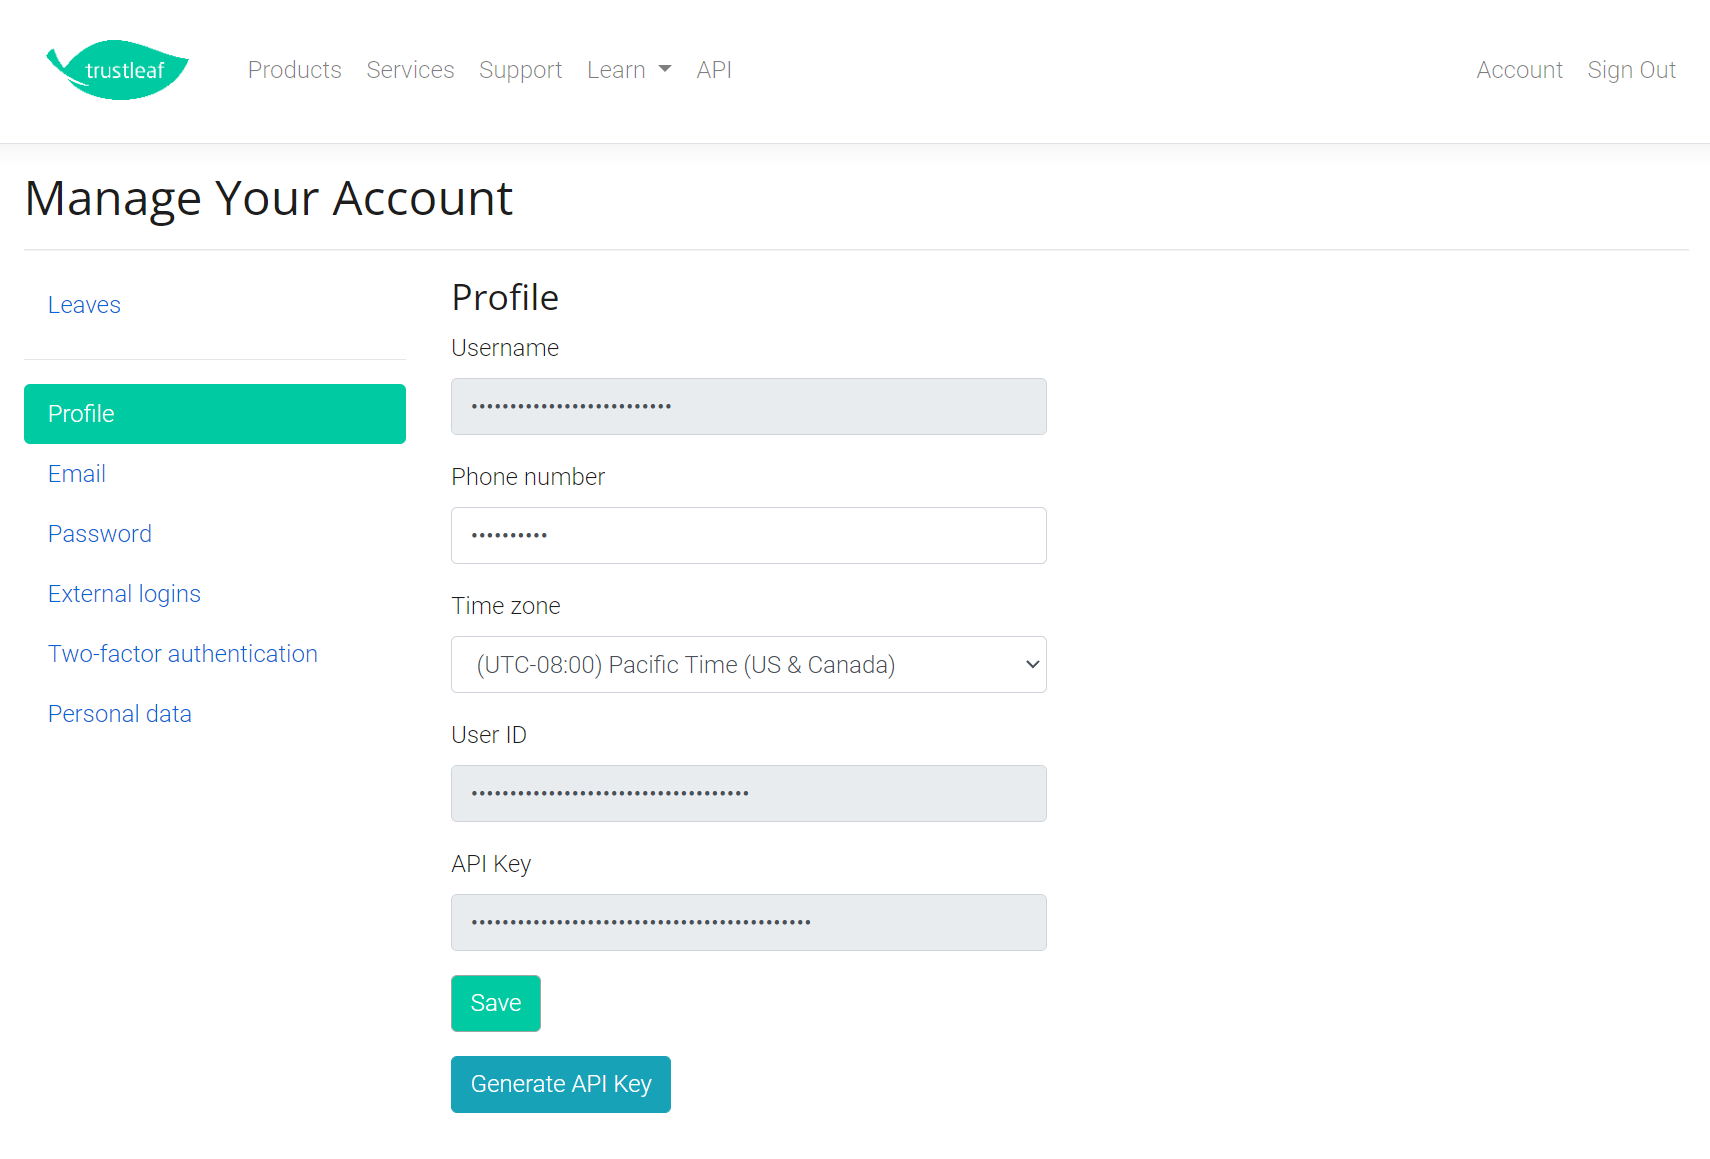
And then on the account page, you can adjust your contact, login, and personal information. Of note, we recommend setting your preferred time zone on the Profile tab. All times will be presented and stored in your preferred time zone. UTC is an option if you like to consolidate on one universal time standard! Also, if you'll be leveraging the API, you'll need your User ID and you can generate an API key on that tab as well.
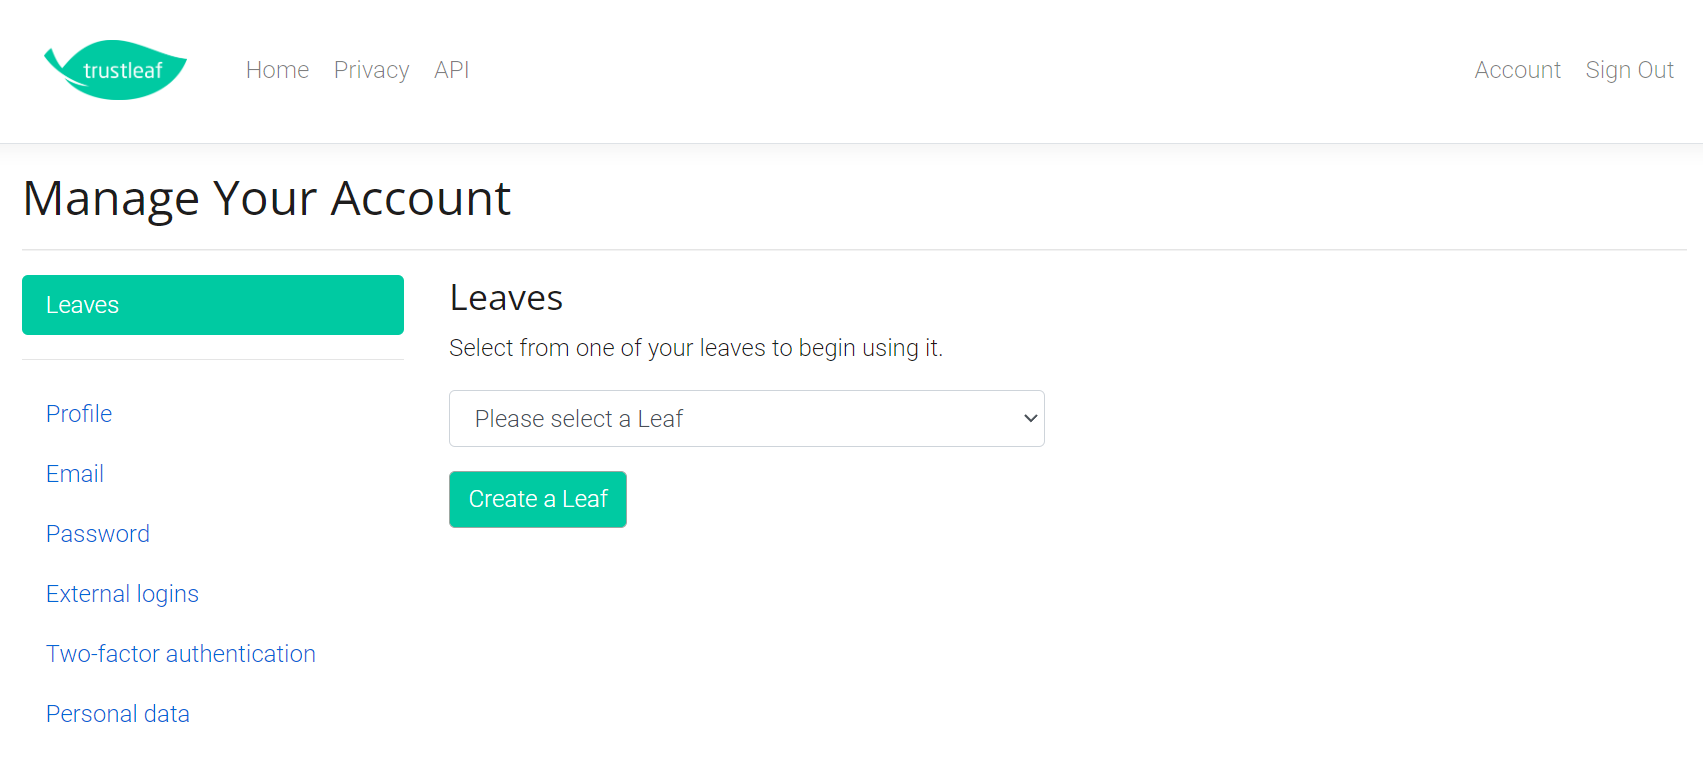
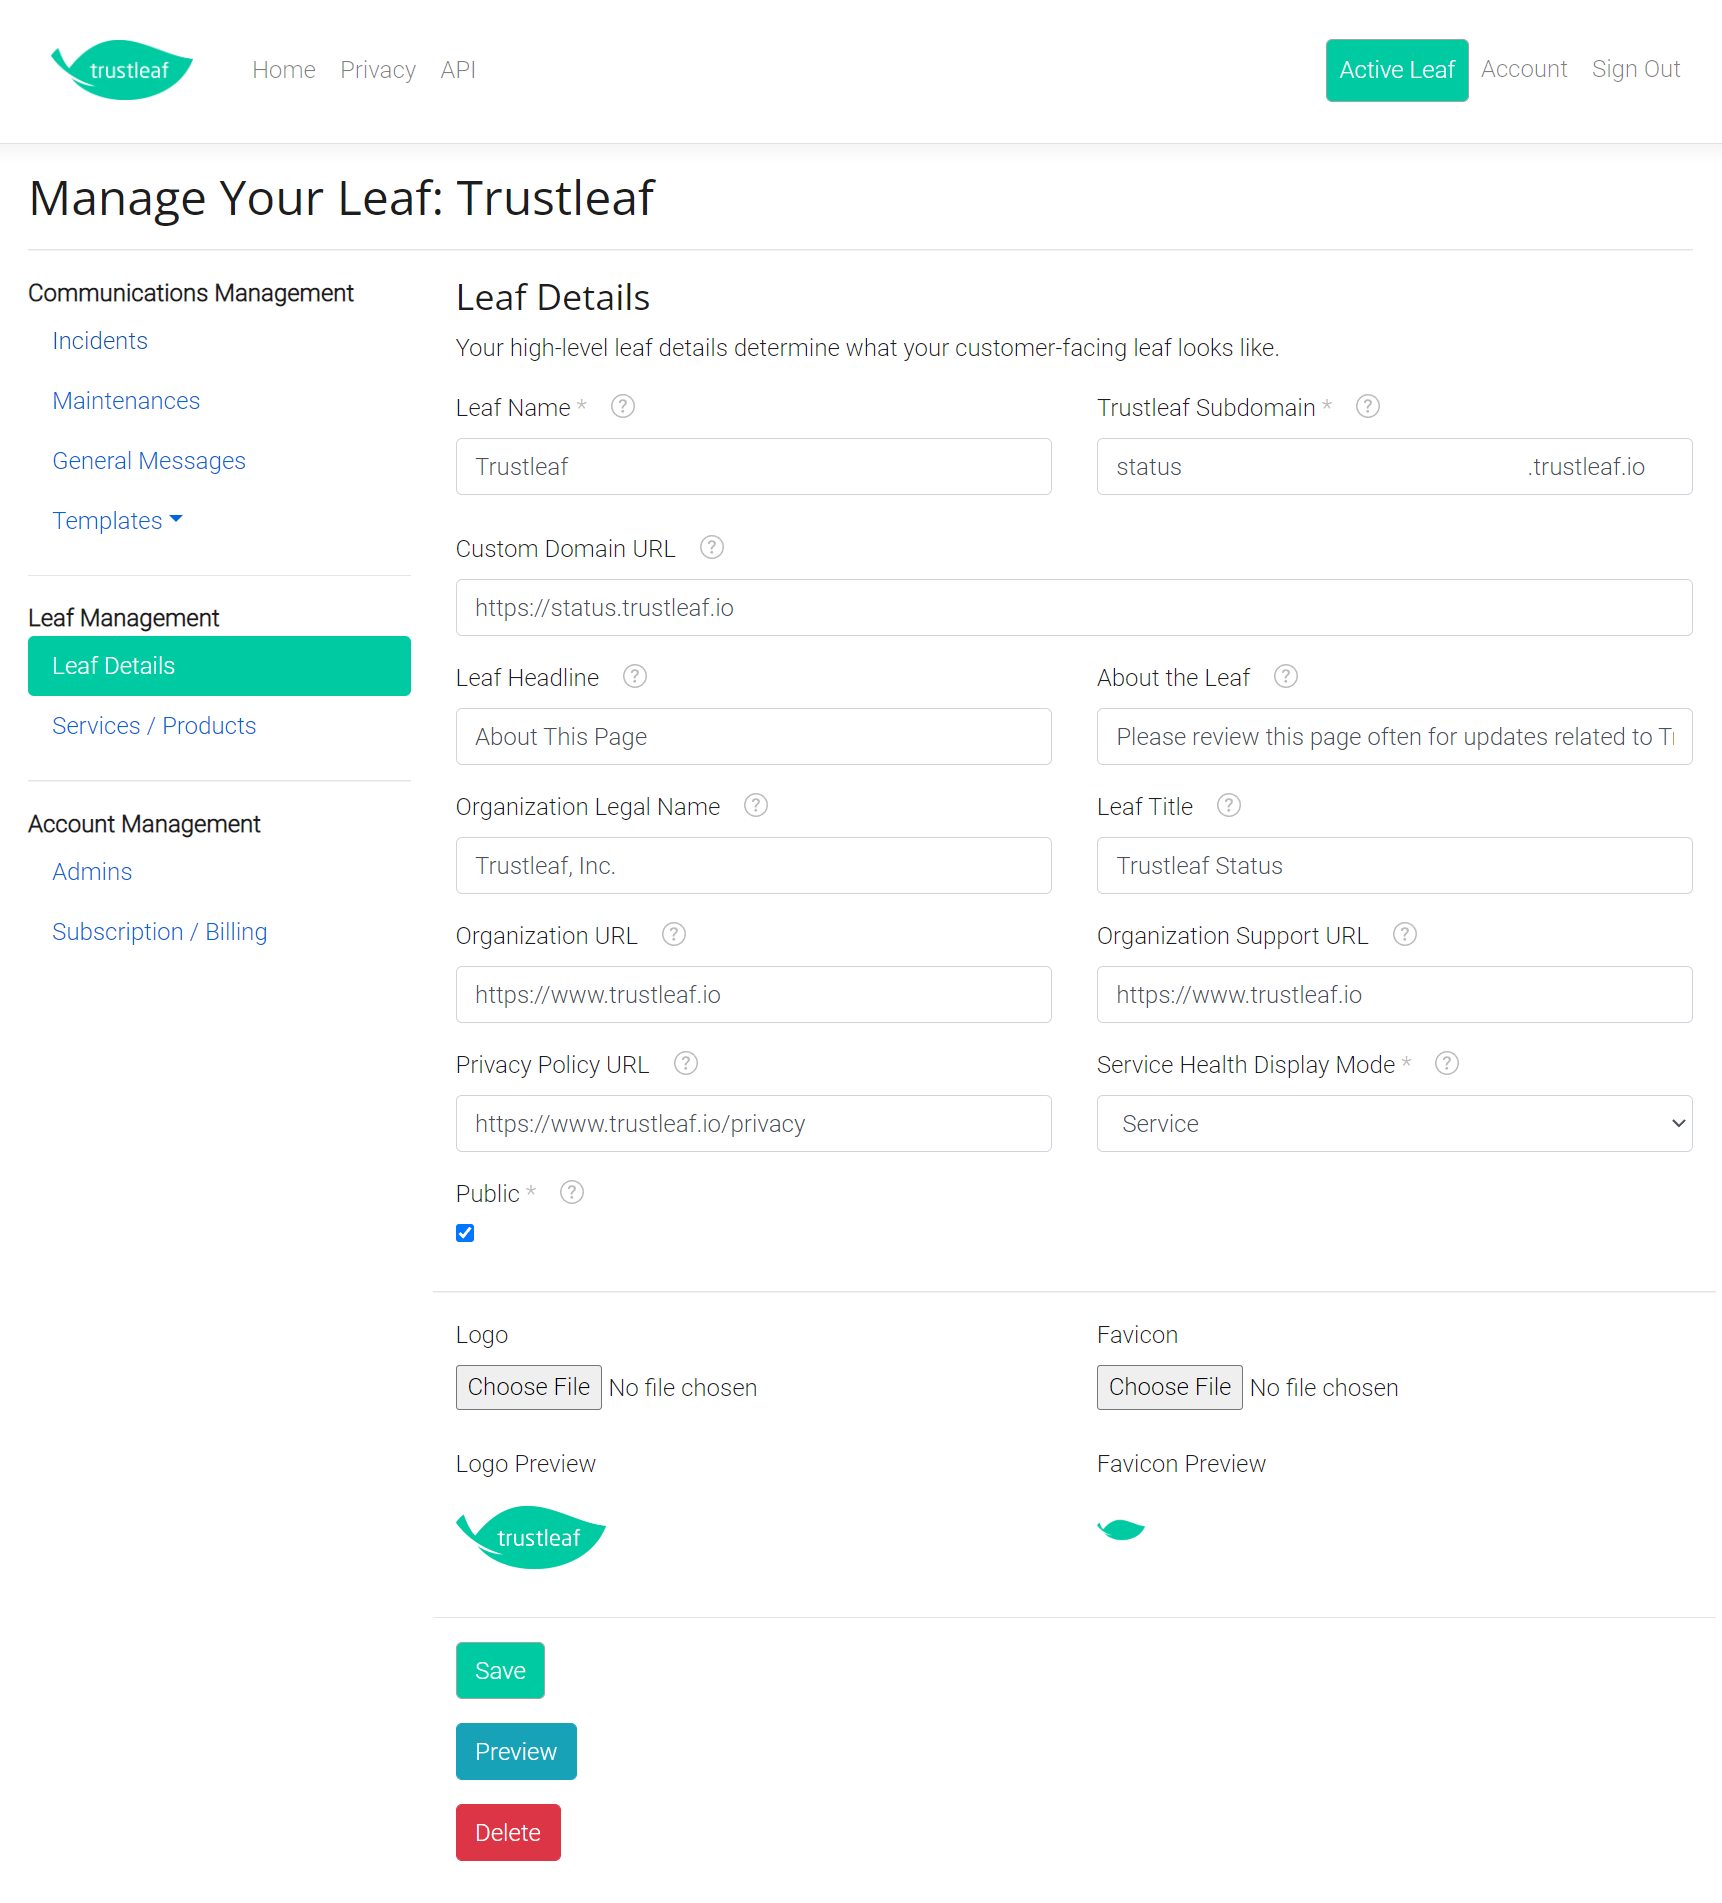
Next, you'll want to create your leaf and make sure that all the details of your leaf are updated to help your customers recognize your brand. You can look at the help icons on the Manage Your Leaf screen to help you fill it out. Or you can reach out to us using the chat feature of this site.
Add and configure your services, features, and infrastructure
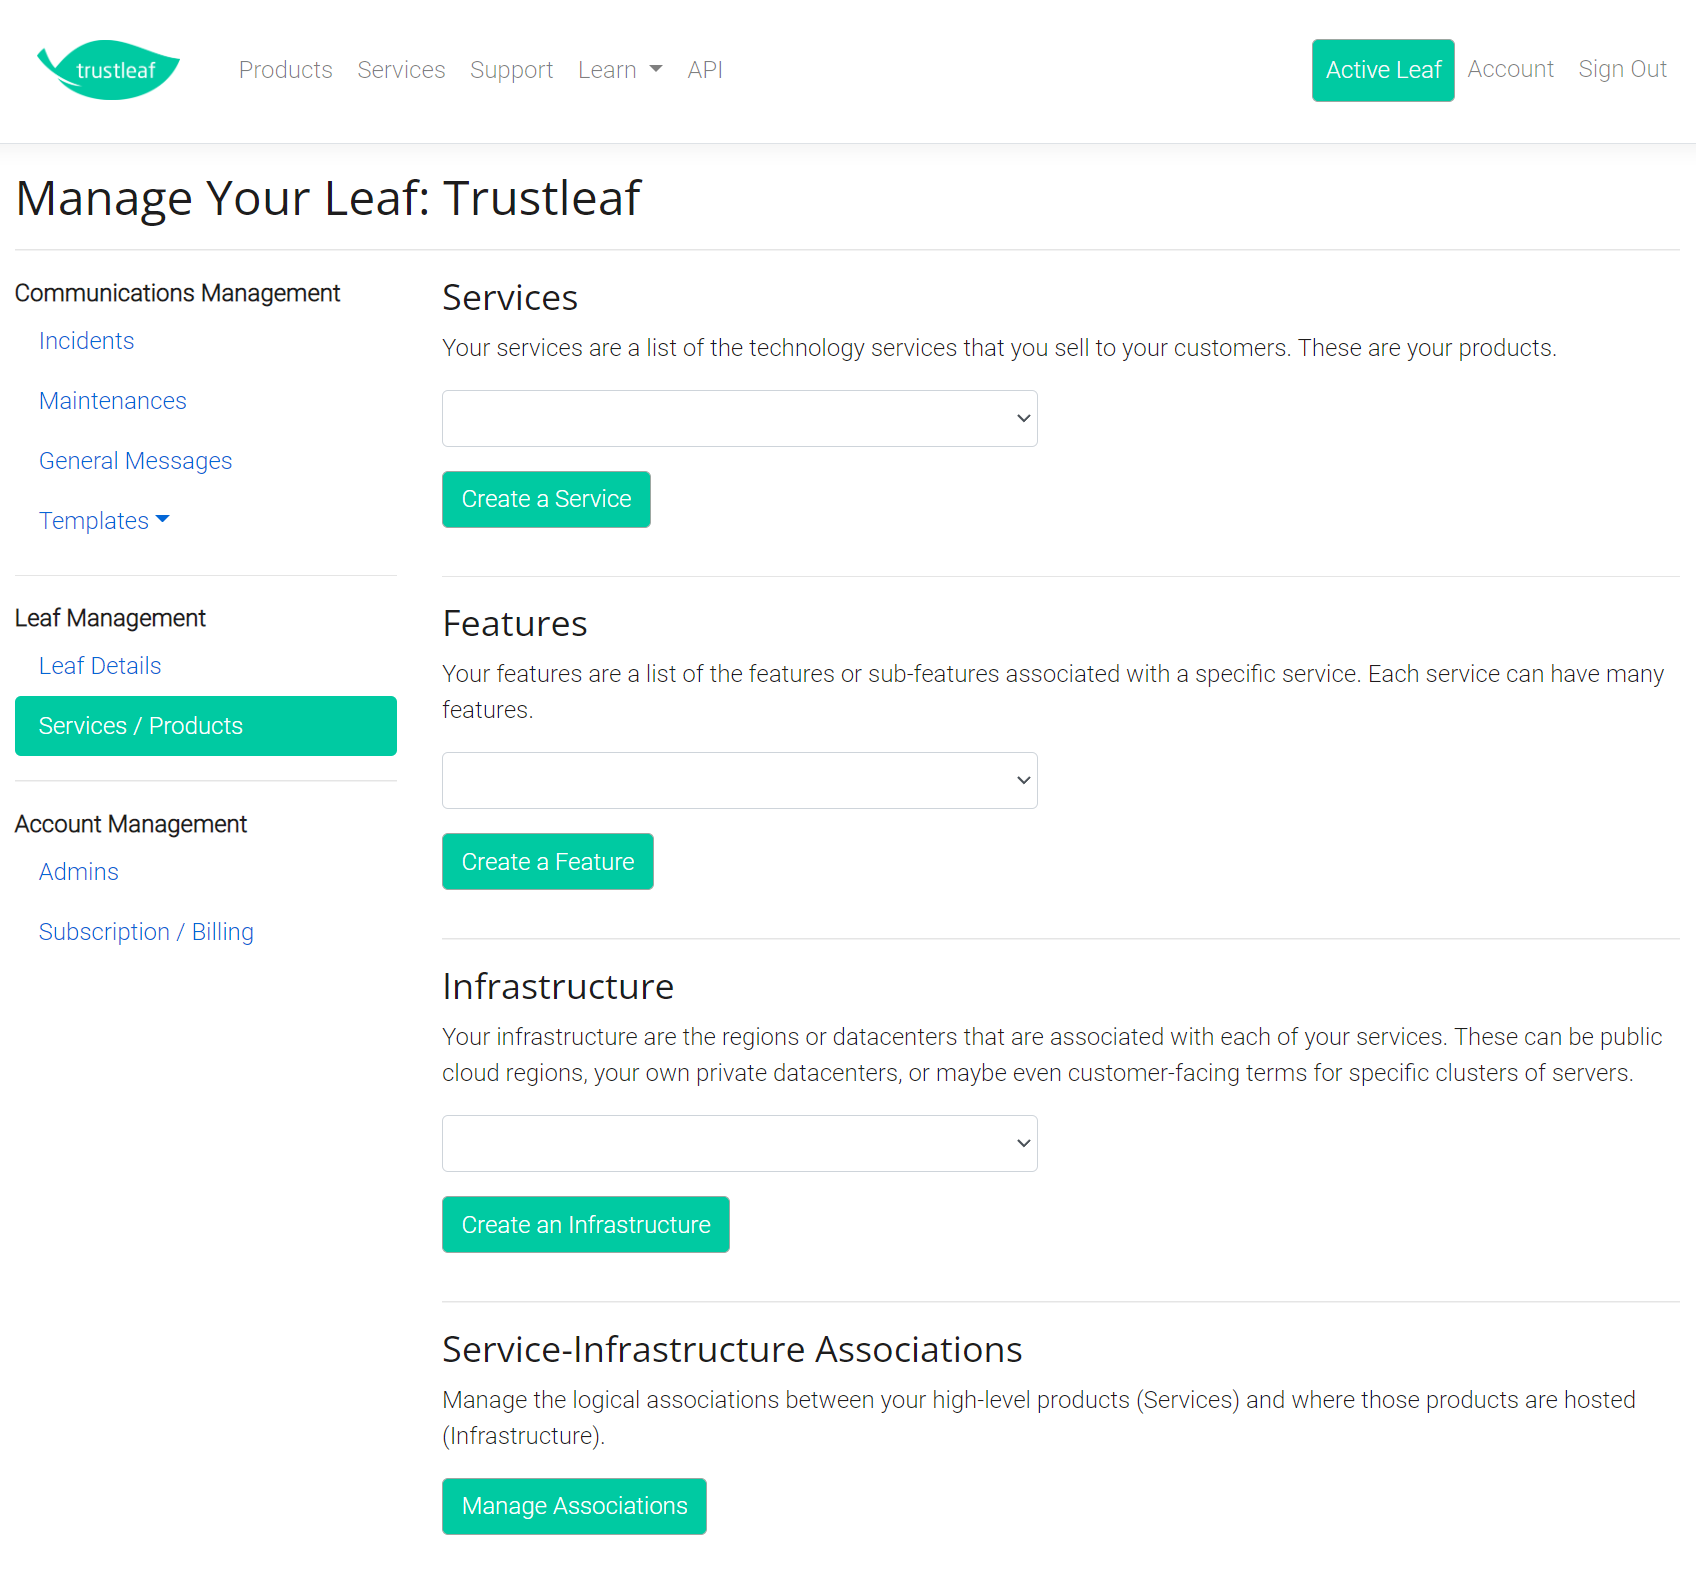
Once you've created your leaf and updated its details, you'll want to add and configure your services, features, infrastructure, and the associations between your services and infrastructure.
When adding services, make sure you use the names of your core services, products, or features (if you don't plan to break them down any further in the features section). If Microsoft created a leaf, it might include Azure, Dynamics 365, or Microsoft 365. Or you could decide to go a level deeper for services. For example, they could decide to list Exchange Online and Teams (subsets of Microsoft 365) as services.
For features, you'll want to list out any important sub-features of each of the services (if desired, or if applicable).
For infrastructure, you'll want to list the different places that your customers can be hosted. Use whatever nomenclature your customers are comfortable with. For example, if Amazon Web Services created a leaf, their infrastructure may consist of US West (Oregon), Asia Pacific (Osaka), and Europe (London). Or they may decide to break it down further and list all of the availability zones. Or you may decide to use some virtual name for infrastructure if your customers are more familiar with the cluster, shard, etc. that they're hosted on.
And then associations put it all together. This is where you decide which services go in which regions. You check the box in the cell if the service is used (or is available for use) in that infrastructure.
Add other admins as users
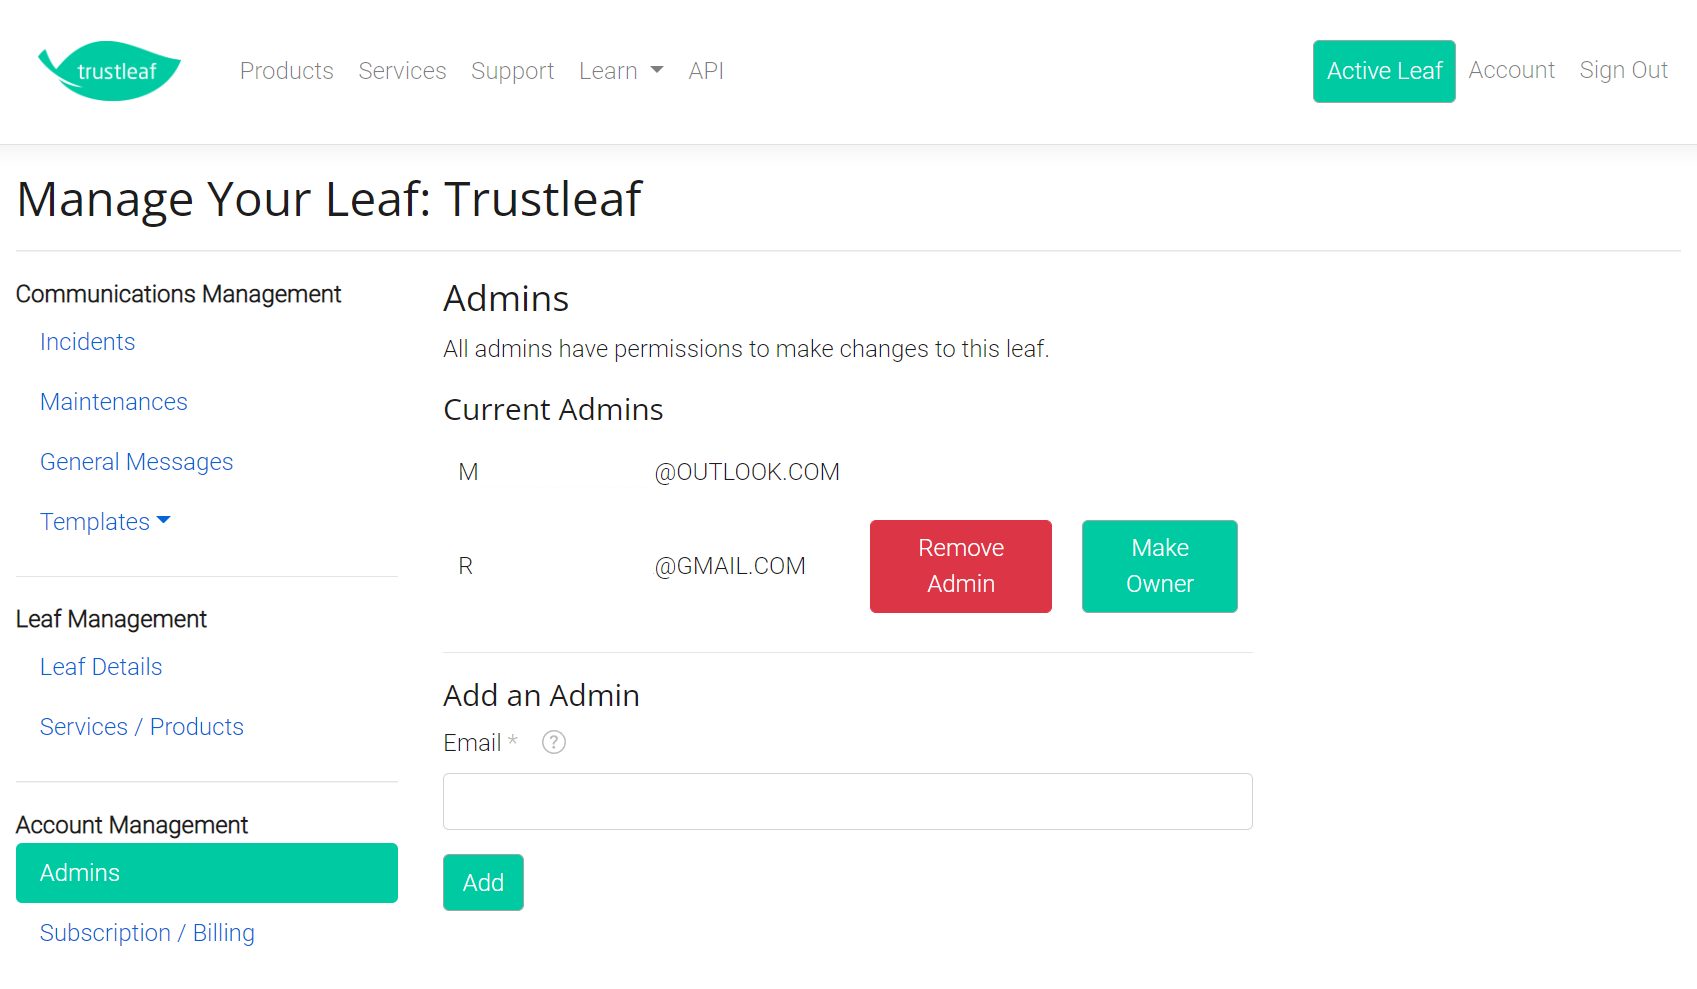
You can add any number of admins (our term for users, who would normally be your colleagues at your company) to your leaf, and admins are added and managed per leaf. So, if you have multiple leaves, you can use a different set of admins for each one. To add your first admin (after you), just enter their email address on the Admins page and select Add. If they don't already have an account created, they'll receive an email with a prompt to create an account so that you can add them later.
Set up your subscription
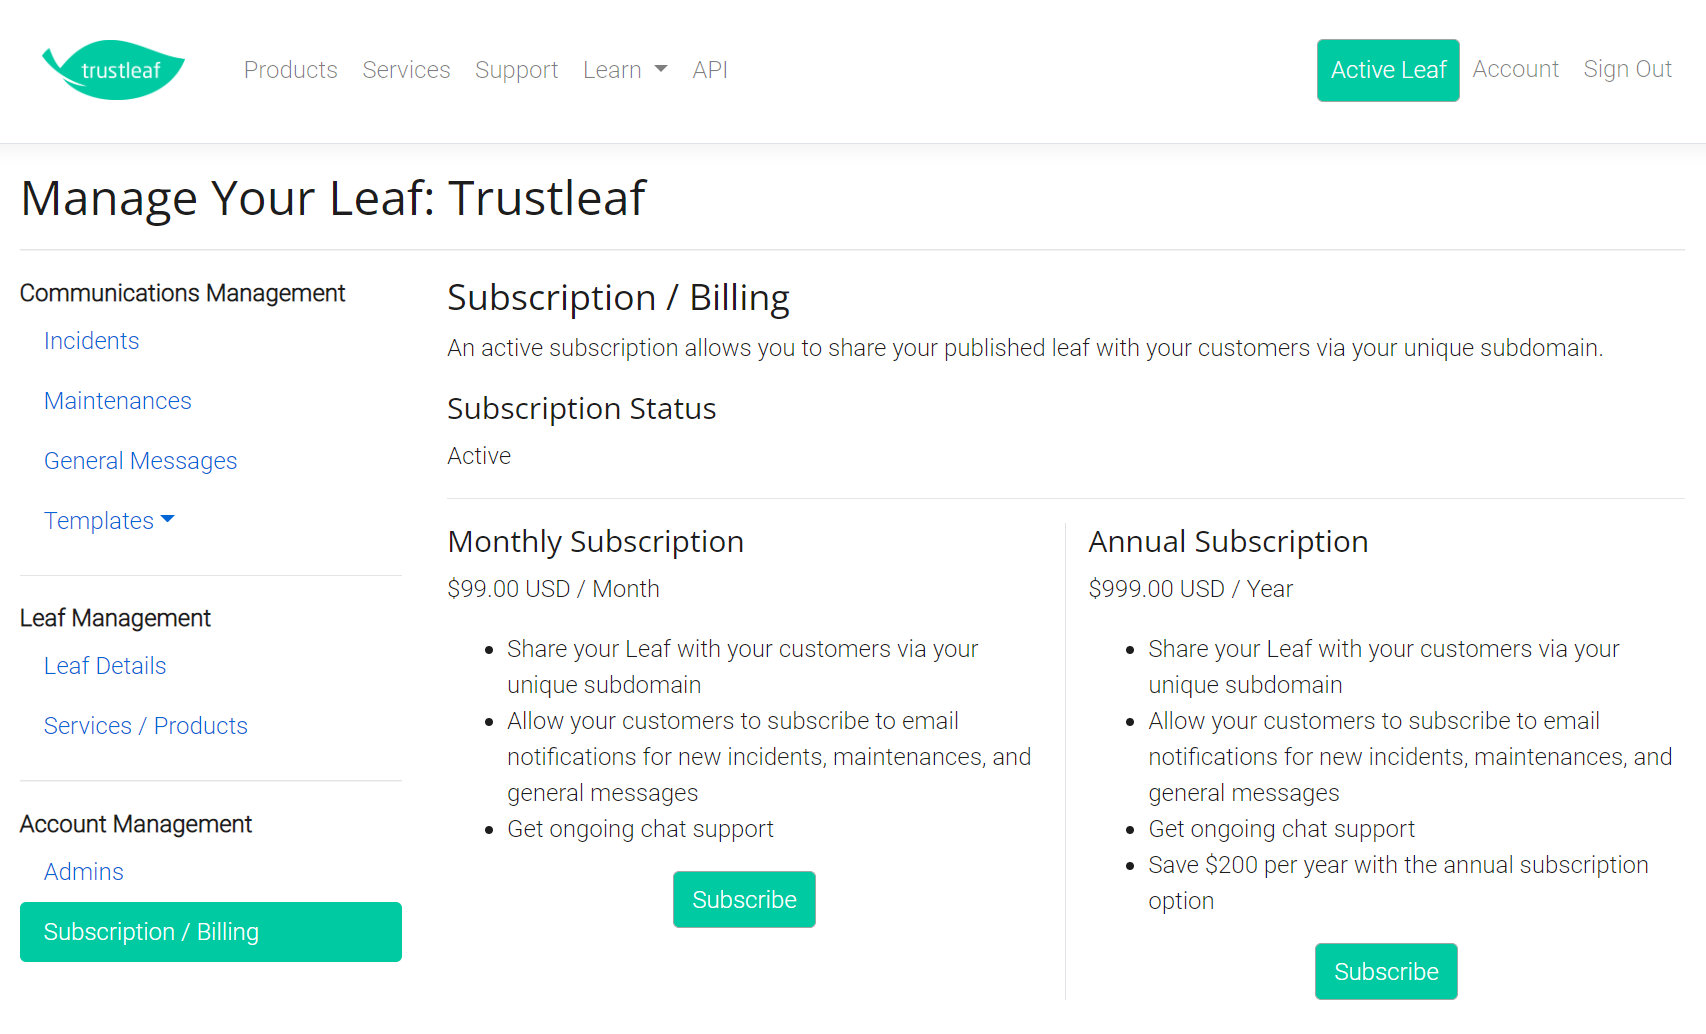
When you subscribe to Trustleaf, you can pay monthly or annually. Enjoy the same great options with both but save some money with the annual subscription! We integrate with Stripe to ensure high availability and reliability and to adhere to industry-leading security standards in processing and storing your payment information.
Configure your incident templates
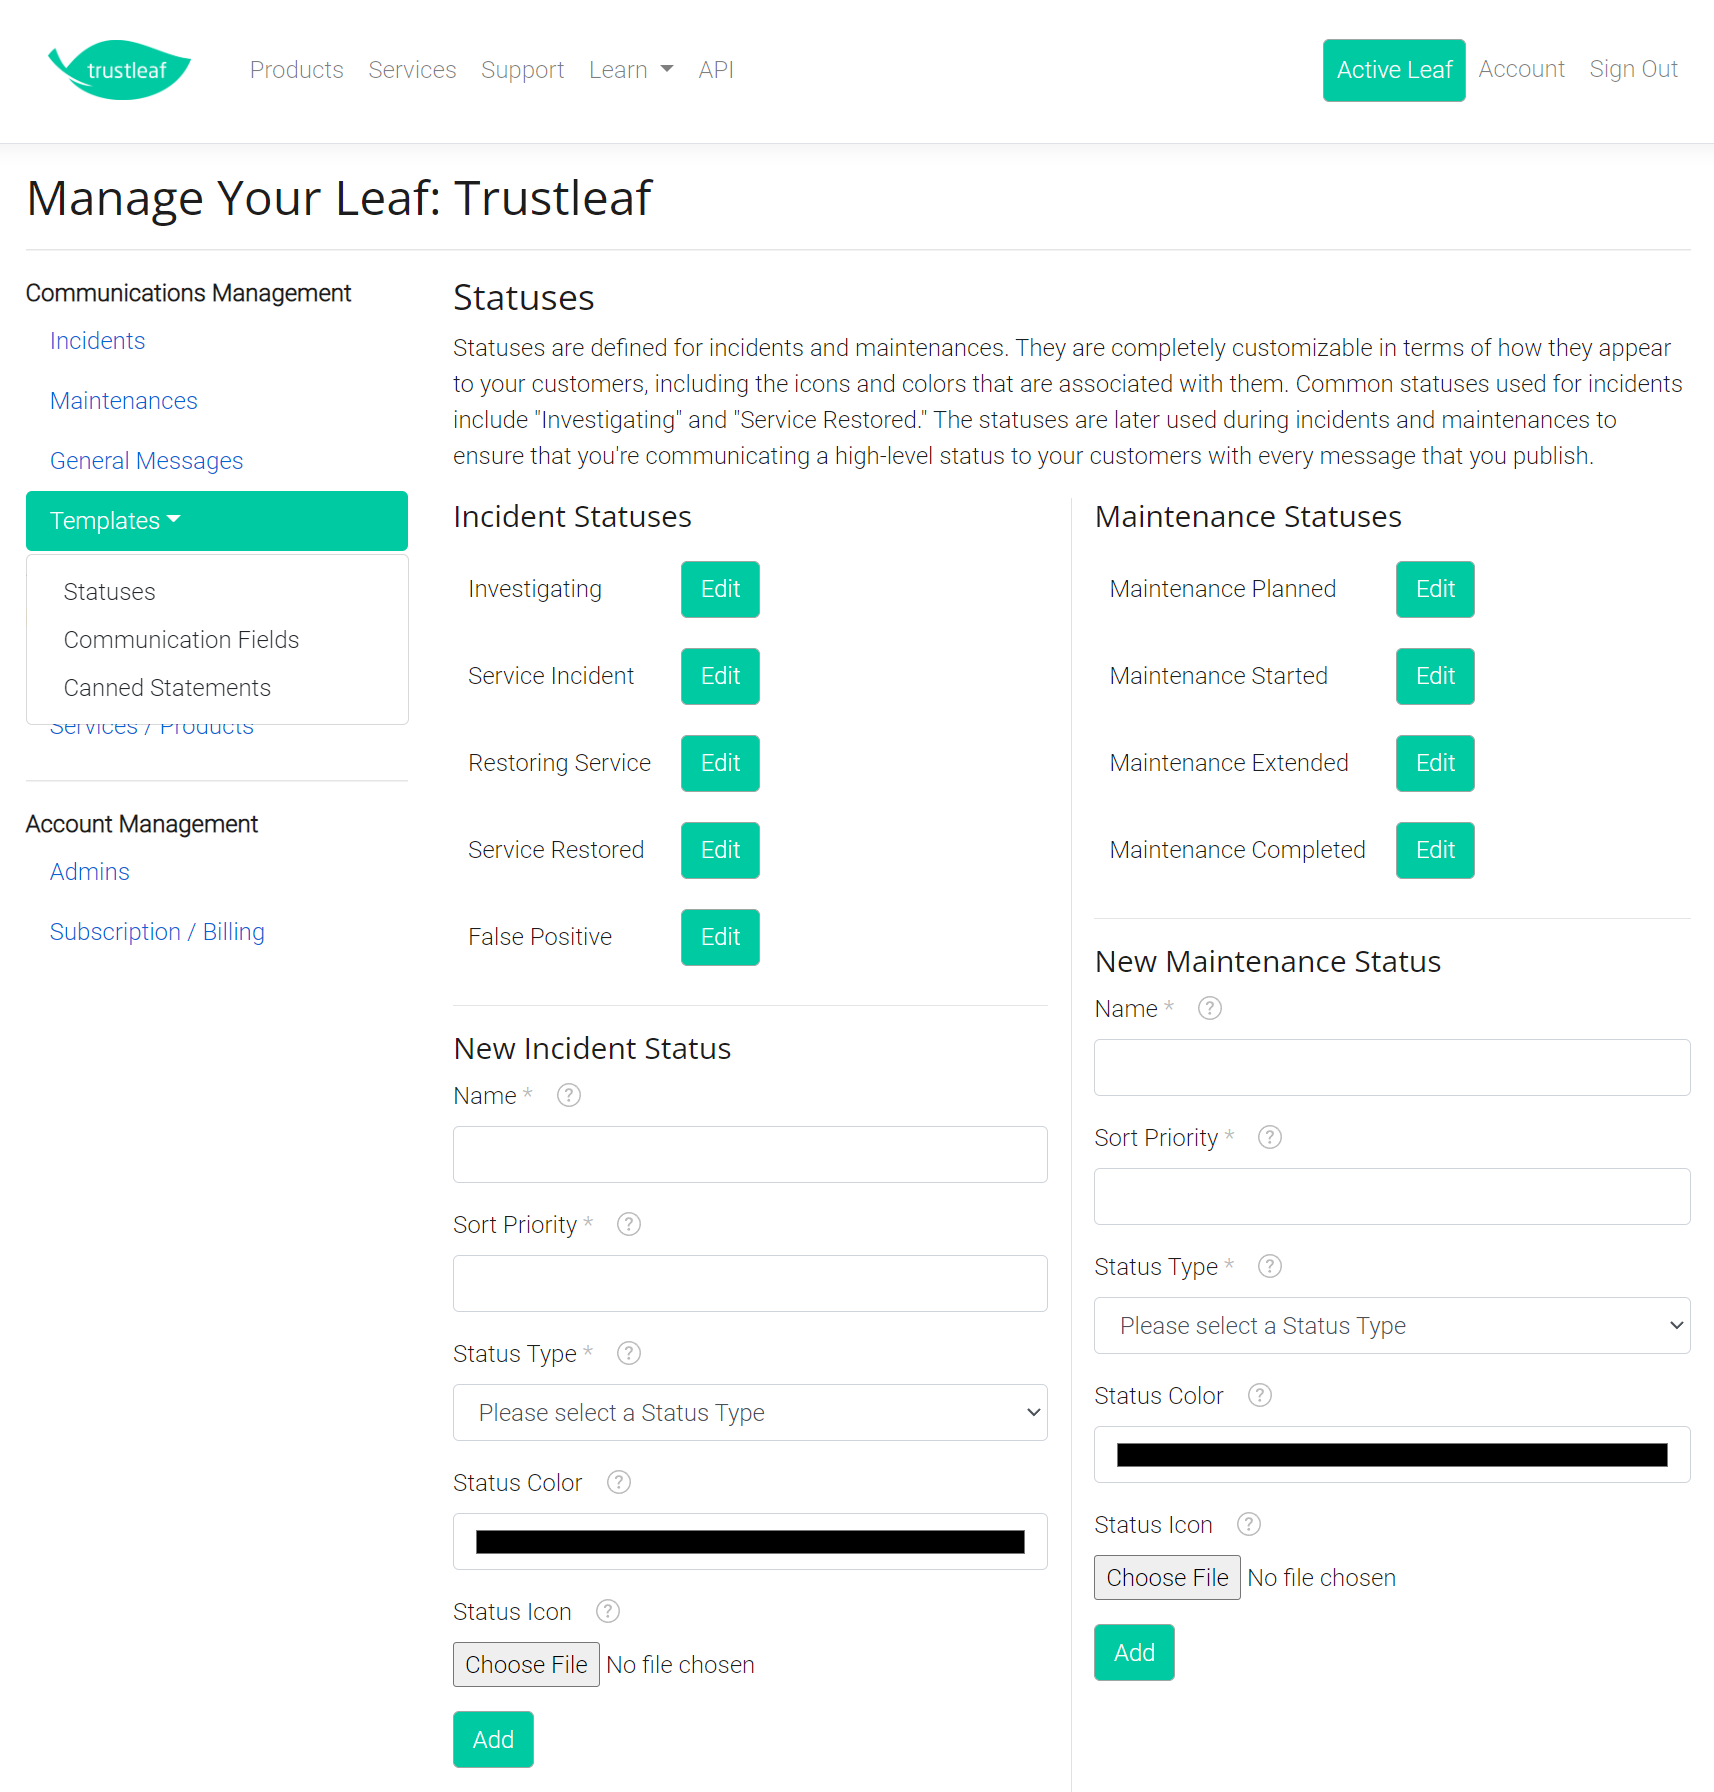
On the Templates dropdown on your leaf, you have can select one of three options to configure your incident and maintenance statuses, communication fields, and canned statements. When you created your leaf, defaults were created for you; however, you can edit, add to, or remove from any of these defaults.
Statuses are important because they reflect the stage of an incident or maintenance that you're in currently. Whenever you issue an incident or maintenance communications, you update the status associated with it so that customers know how you're progressing with your efforts. It's the status of the incident or maintenance where your customers will see on your public-facing leaf. You're given a set of standard templates for incidents and maintenance. You can add to, edit, or remove any of those options based on your service workflow. Just make sure that you use at least one that serves as the first communication and one status that serves as the last communication.
Communication fields are also important since they define the individual pieces of information that you'll share with customers. Each communication that you issue will be organized, titled, and formatted depending on how you've configured them. You're also given a standard set of these that can be fully customized.
Canned statements are the perfect way to keep your incident and maintenance communications' voice, tone, and overall appearance looking high-quality and consistent for your customers. There are only so many ways that your customers can be impacted, or to communicate what you're currently doing to restore service, or even what the underlying cause of the issue is, so documenting or providing a template for those statements upfront helps save your incident response teams valuable time (not to mention gets communications in your customers' hands faster) so that they can focus restoring service.
Start using the service
From this point, you're ready to go! Whenever you'd like to make your page public for your customers, check the Public box on the Leaf Details page and create your first incident, maintenance, or general message!